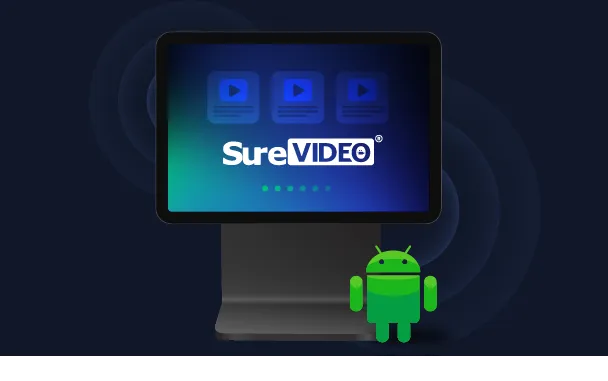
SureVideofor Android Digital Signage Kiosks
The Key to Managing Android Video Kiosks
As kiosks help attract attention, which in turn makes conveying business-related information easy, businesses use kiosks strategically to achieve their marketing goals. However, it’s not always possible for businesses to build standalone kiosks as the process is both cost- and time-intensive. As such, businesses must consider converting off-the-shelf Android devices into digital signage kiosks. This is what SureVideo for Android digital signage kiosks can help organizations do. You can purchase it as a standalone license, or purchase a license of SureMDM, the 42Gears device management solution.
How Can SureVideo for Android Digital Signage Kiosks Help Businesses
With SureVideo, businesses can convert off-the-shelf Android devices into professional-looking digital signage screens. Using SureVideo for digital signage kiosks serves three important purposes:
1
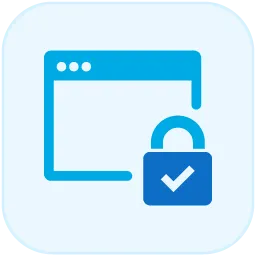
Device Safety
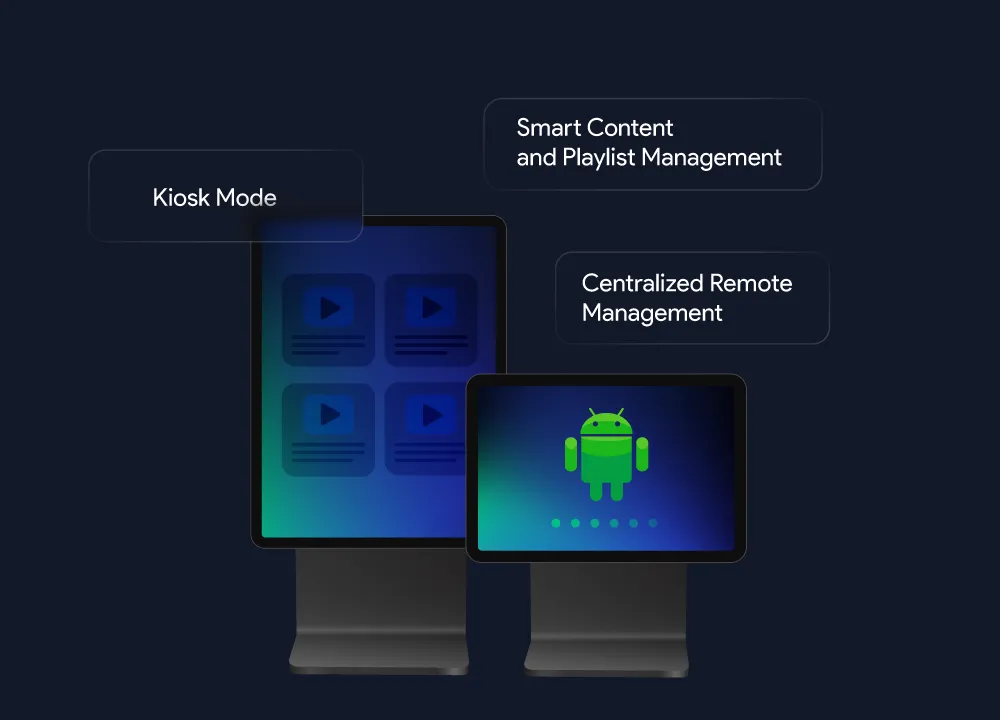
When devices are open for public use, the chances of them being misused or accidentally damaged increases considerably. The SureVideo Android video kiosk solution helps businesses lock their devices down into kiosk mode, allowing only pre-approved apps to run and blocking unauthorized access to other apps and device settings. This not only ensures device safety but also saves maintenance costs.

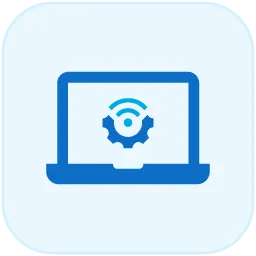
2
Management
No matter where Android video kiosks are placed and what purpose they serve, IT admins need a way to enroll, configure, and update them easily and conveniently. And this need only increases when they are located in high-traffic areas, used often, or serve an important business purpose. SureVideo for Android digital signage kiosks can help businesses manage, monitor, and secure their entire fleet of video kiosks remotely through a central web console.

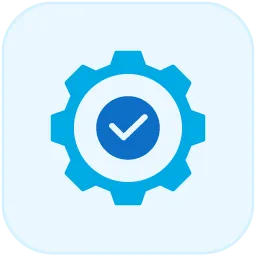
3
Troubleshooting
Organizations can lose a lot of money or end up missing key opportunities if Android digital signage screens placed in strategic locations malfunction or stop working entirely. SureVideo for Android digital signage kiosks can help businesses troubleshoot such devices through the central console. This is especially useful when these Android video kiosks are placed in remote locations or in situations where sending a technician on-site to fix malfunctioning devices is difficult or nigh-impossible (such as in the event of a crisis).

Key Features of SureVideo for Android Digital Signage Kiosks
SureVideo for Android video kiosks boasts world-class features that help businesses manage their digital signage screens better. Not only do these features make the IT admin’s job easy, but also ensure that the business has complete control over the content being displayed on their Android digital signage screens. This is very important as the audience relates the information displayed on such devices with the brand, and any misstep can cause irreparable damage to the business’ reputation.
Content Looping
Lock devices down into kiosk mode and play media files continuously in a loop.
Restricted Access
Restrict user access to pre-approved media files only.
Multiple-Format Support
Display content in a variety of formats, such as videos, images, and presentations.

Overlay Media Controls
Customize the media controls available to users.

Launch at Startup
Auto-launch as soon as the device is powered on.

Stream YouTube Videos
Stream and loop videos from YouTube in lockdown mode.

Text Feed and RSS Feed support
Display live news at the bottom of digital signage screens.

SureVideo Analytics
Get insights on how users interact with digital signage.
Remote Management
Remotely deploy, configure, and monitor Android video kiosks using SureMDM.

Mass Deployment
Enroll and configure multiple devices at once using SureMDM.
SureVideo for Android digital signage kiosks is supported on Android 4.0 and later versions
Which Industries Can SureVideo for Android Digital Signage Kiosks Help?
SureVideo for Other Platforms