Is your web kiosk smart enough?
ago 02, 2019 | 42Gears Team
How smart is your web kiosk? Is it smart enough to give you a report at the end of the day detailing the most popular content on your kiosk on a particular day, one that was accessed again and again or highlighting the content that needs your attention? Does it automatically block users from accessing websites with specific keywords and generate related reports for your analysis.
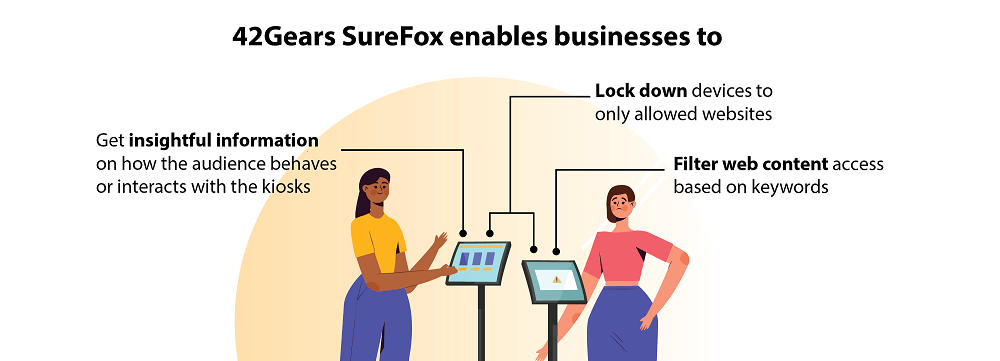
42Gears SureFox enables businesses to not only create a portable web-kiosk using Android-based smartphones and tablets, but also helps:
– get insightful information on how the audience behaves or interacts with their web kiosks
– filter web content access based on keywords
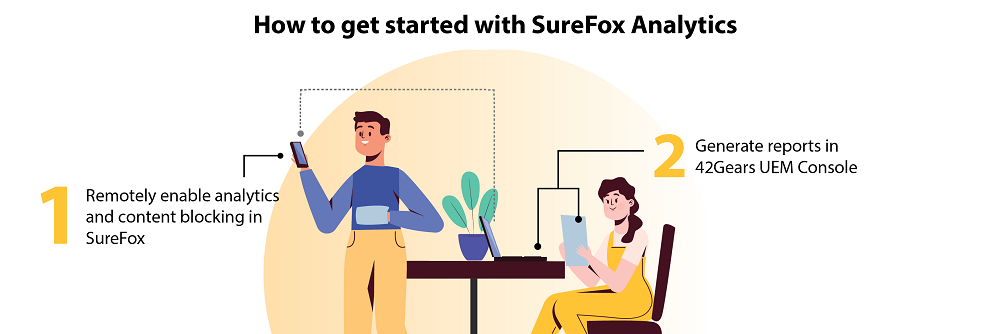
SureFox Analytics can help you pull detailed reports through the SureMDM Web Console. To get started, you need to do two things:
– Enable analytics and content blocking in SureFox
– Generate reports in SureMDM Web Console
Enable analytics and content blocking in SureFox
Enable SureFox Analytics on an Android device
To enable analytics in SureFox, install SureFox, launch it and follow the below-mentioned steps:
1. Tap on SureFox Home Screen, 5 times within 3 seconds to launch the password prompt.
2. Enter the password and tap OK.
3. On SureFox Settings screen, go to Browser Preferences > SureFox Analytics Settings.
4. Enable SureFox Analytics and tap Done.
NOTE: If you want to get SureFox Analytics reports through email at a scheduled time, under SureFox Analytics Settings, use the Schedule Export option to specify your email address and Schedule Export to specify the date and time.
Enable SureFox Content Blocking option on an Android device
To enable content blocking in SureFox, follow the below-mentioned steps:
1. Launch SureFox and tap on the screen 5 times to launch the password prompt.
2. Enter default password 0000 and go to the SureFox Admin Settings screen.
3. On the SureFox Settings screen, tap on Browser Preferences.
4. Go to Advanced Settings and enable the Enable Content Blocking option.
5. Tap on Add keywords to block access option.
6. On the Enter Keywords prompt, add keywords separated by commas and tap OK.
7. Go to Browser Preferences > SureFox Analytics Settings and select Content Blocking Analytics and click Done.
Once these steps are successfully completed, whenever a user uses the SureFox browser to access web pages that has any of the keywords listed, a toast message will appear informing that access to that page is blocked due to content filtering.
Generate reports in SureMDM Web Console
SureMDM allows IT admins to generate custom reports for allowed websites and content filtering in SureFox. This SureFox Analytics report can be generated for single or multiple devices for specific dates using the 42Gears UEM Console.
*Please note that SureFox Analytics is available only for premium accounts. This option will be available only for admin, not sub users.
Generate SureFox Analytics Reports
SureFox Analytics Report lists all the activities in the SureFox browser with details of the device, URL open and close time with total browse time on the allowed websites.
To generate analytics report (assuming that the device is enrolled in SureMDM, if not read here to learn how) follow the below-mentioned steps:
1. Login to SureMDM Web Console.
2. On SureMDM Home, click Settings and Account Settings.
3. On Account Settings screen, click Data Analytics.
4. Next, enable Enable Data Analytics > SureFox Analytics and click Show for Secret Key.
5. Note down the secret key and click Apply.
The settings will get updated.
6. Once done, go to Reports > Custom Reports > Add > check SureFox Analytics checkbox and click Add to add it under Selected Table List.
7. Give a Name/Description and click Save.
8. Now, go to On Demand Reports and select the created Custom Report, select the device or group and the date range.
9. Click Request Report.
10. Go to the View Reports tab and use Download or View link to download or view the report.
HELPFUL TIPS:
1. If you want to remotely enable SureFox Analytics on an enrolled device, you can push the following script to the device using Run Script job:
!#suremdm
EnableAnalytics(com.gears42.surefox,secretkey)
Secret Key is the key copied in step no. 4.
2. If report is generated before 24 hours after the analytics is set, the report will have no data. To generate one before 24 hours, we can forcefully export the data using the below run script.
am broadcast -a com.gears42.surefox.COMMUNICATOR -e password 0000 -e command export_analytics -n com.gears42.surefox/com.gears42.surefox.service.SurefoxCommunicator
Generate SureFox Content Blocking Analytics Report
SureFox Content Blocking Analytics Report lists all the blocking activities in the SureFox browser with details of the device, URL accessed, blocked time and more.
To generate this report (assuming that the device is enrolled in SureMDM, if not read here to learn how) and follow the below-mentioned steps:
1. Login to SureMDM Web Console.
2. On SureMDM Home, click on Settings and Account Settings.
3. On Account Settings screen, click Data Analytics.
4. Next, enable Enable Data Analytics and click Add Analytics.
5. Under the new section, give a name, a tag name and click Add Field.
6. Add fields like URL, Blocked Time and Type and click Save.
7. A secret key will be generated.
8. Note down the secret key and click Apply.
9. Once done, go to Reports > Custom Reports > Add.
10. Find the created analytics under Tables list, select it and add it under Selected Table List.
11. Give a Name/Description and click Save.
12. Now, go to On Demand Reports and select the created Custom Report, select the device or group and the date range.
13. Click Request Report.
14. Go to the View Reports tab and use Download or View link to download or view the report.
HELPFUL TIPS:
1. To remotely enable Content Blocking Analytics on an enrolled device, you can push the following script to the device using Run Script job:
am broadcast -a com.gears42.surefox.COMMUNICATOR -e password 0000 -e command enable_content_blocking_analytics -e secret_key <secret_key> -n com.gears42.surefox/com.gears42.surefox.service.SurefoxCommunicator
Secret Key is the key copied in step no.8.
2. If report is generated before 24 hours after the analytics is set, the report will have no data. To generate one before 24 hours, we can forcefully export the data using the below run script.
am broadcast -a com.gears42.surefox.COMMUNICATOR -e password 0000 -e command export_content_blocking_analytics -n com.gears42.surefox/com.gears42.surefox.service.SurefoxCommunicator
Considering that the intended audience interacts directly with web kiosks, the insights on how these kiosks are being used, how the audience usually behaves and for how long do users interact with the content, etc. can help businesses strategize better.
SureFox Analytics
Create portable web-kiosk and get insightful information
on how the audience behaves or interacts with these web kiosks
Subscribe for our free newsletter