What are the advantages of using iPads as POS Terminals?
- Cost effective (much cheaper than conventional POS)
- Portable and flexible with wireless connectivity (WiFi, 4G, Bluetooth, NFC)
- Requires less floor space
- Looks modern and sleek
How to build POS Terminal with iPad?
- Get an iPad
- Get a credit card reader for processing credit card or debit card payments like Square
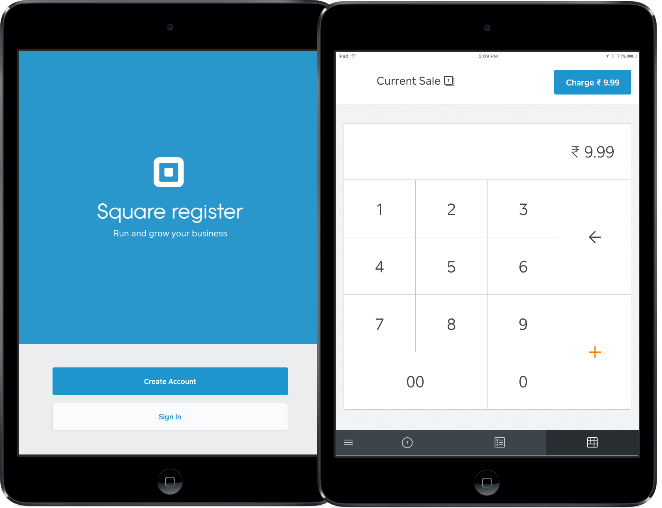
- Download and install Square POS app from App Store
- Login to your Square Dashboard. Create items that you want to sell with their unit price information. You can edit or import the items as well
Challenges
- Square Register app could be easily closed or dismissed
- Internet and other connection settings could be interfered with
- Unwanted applications could be installed
- Device could be used for personal interests and activities like games, browsing etc.
- Square Register app may get uninstalled
How to secure the iPad for maximum efficiency?
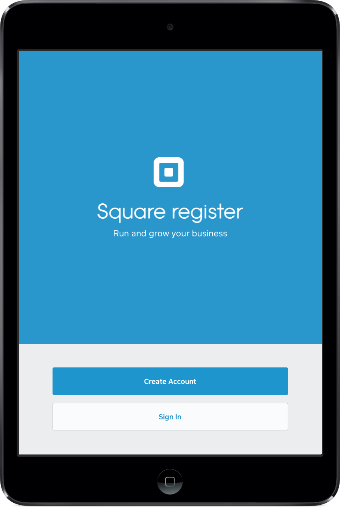
Square Register
SureLock for iOS can be used to lockdown iPad and run only one application all the time. Besides, if there are multiple locked down iPads to be deployed, SureLock can also help in remotely monitoring and managing them like:
- remotely changing the lockdown application
- remotely installing new applications
- remotely restricting native applications and functions
- remotely lock and wipe data from iPads
- monitoring health of the iPads
SureLock for iOS
Enroll an iOS device
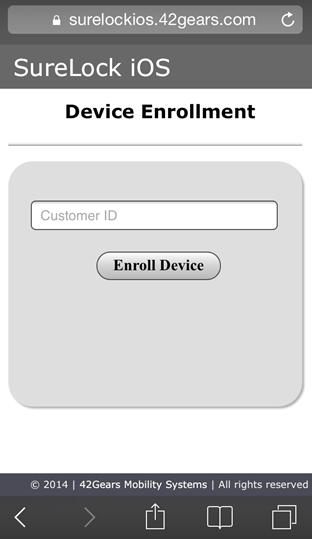
- Open URL - https://surelockios.42gears.com/enroll in the Safari browser of your iOS device

- On Device Enrollment screen, enter your Customer ID and tap on Enroll Device
- On the Install Profile screen, tap on Install
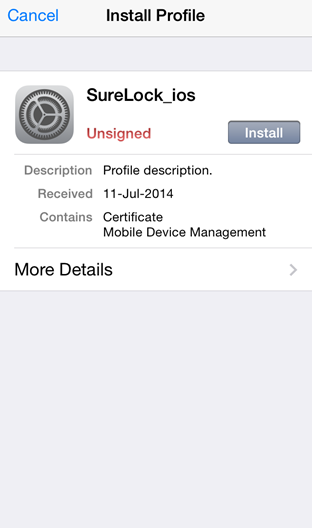
- On successful enrollment, you should see your iOS device on SureLock iOS Web Console
- Login to SureLock iOS Web Console

- On SureLock iOS Home, select the device from Device List
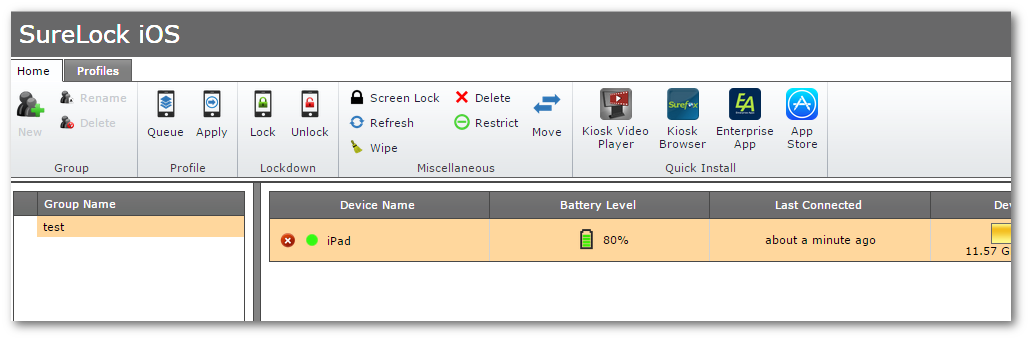
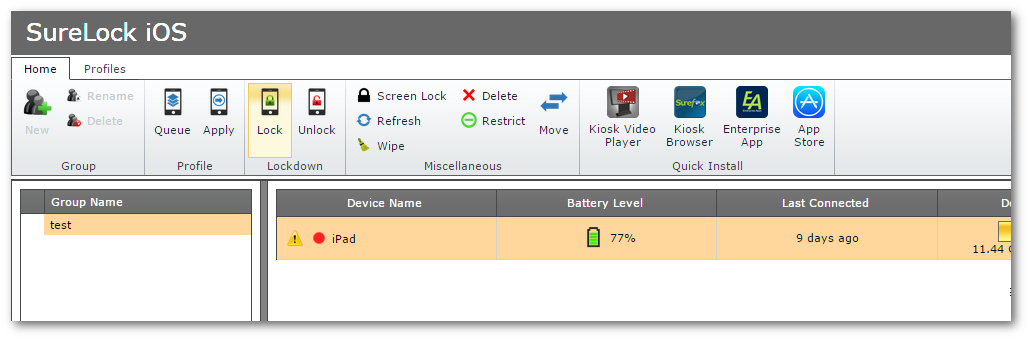
- Click on Lock to launch Lock Device prompt
- On Lock Device prompt, select the desired application and click on Lock (in this case – Register)
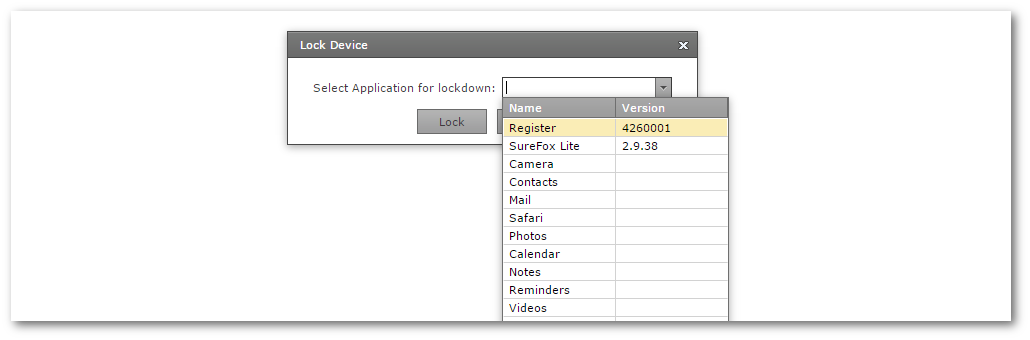
- Now, the device has been locked with Square Register app. The users would not be able to use any other functions or applications unless lockdown is disabled using SureLock iOS Web Console.