| Applies to: | |
| Product | SureMDM |
| Platform | Android/Windows |
1. Creating a pre-approved list
2. Importing the file with list of pre-approved devices in SureMDM
3. Configuring SureMDM Nix Agent
STEP 1:
pre-approved list
1. Open Notepad
2
MAC Address
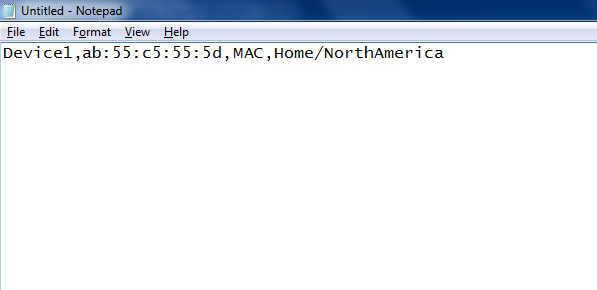
Device Name, MAC Address, MAC, Group Name/Sub Group Name
Example: Device1, ab:55:c5:55:5d, MAC, Home/NorthAmerica
IMEI Number
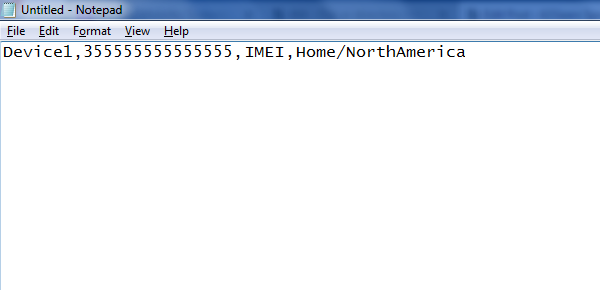
Device name, IMEI number, IMEIGroup Name/Sub Group Name
Example: Device1,355555555555555, IMEI, Home/NorthAmerica
Note: You can skip "Group Name/Sub Group Name" if you don't want the devices to be assigned to any group.
3. Name and save the file in .csv
STEP 2:
SureMDM Web Console
1. Log into SureMDM Web Console
2. On SureMDMHome, click on Preapproved
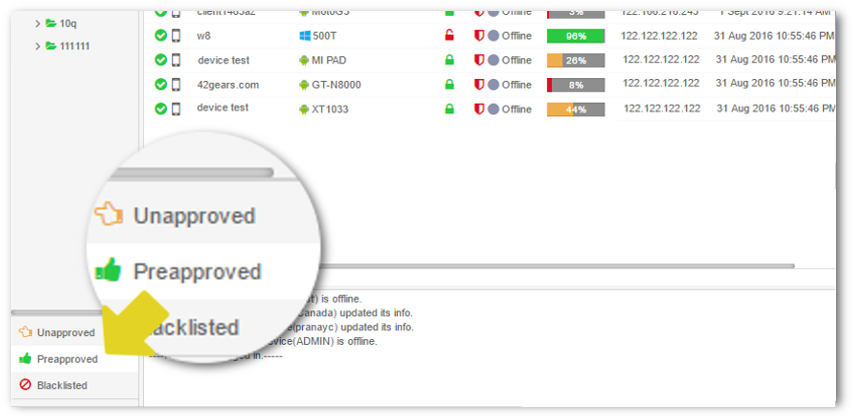
3. On Preapproved screen, click on Import
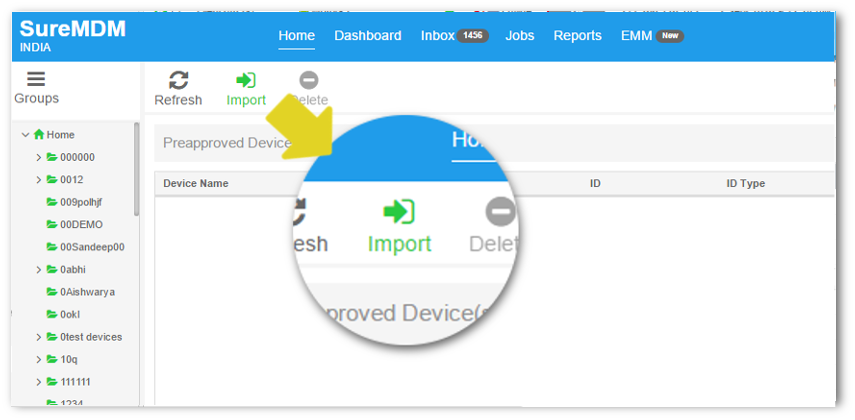
4.
IMEINumber or MACAddress in the .csv file are enrolled, they automatically get approved and get added in Device List
STEP 3:
SureMDM Nix Agent
1. Launch SureMDM Nix Agent
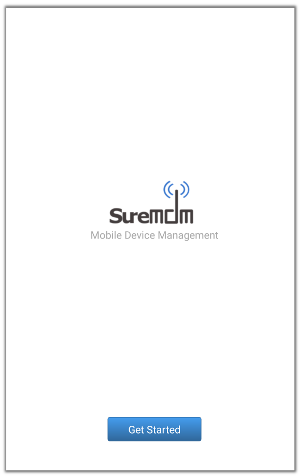
2. On SureMDM Welcome screen, tap on Get Started
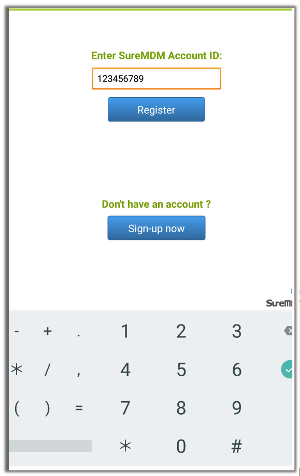
3. Enter the account number in Enter SureMDM Account ID field and tap on Register
4. Next screen, select Use MAC Address or Use IMEI Number from the given options and tap on Set Device Name
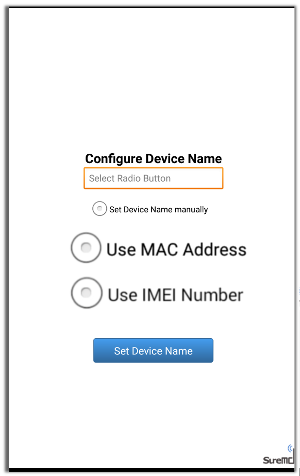
Note: The name selected here would be the identification of the device for the auto approval in SureMDM Web Console, hence selecting the correct option between IMEI and MAC Address is important.
5. Tap on Activate
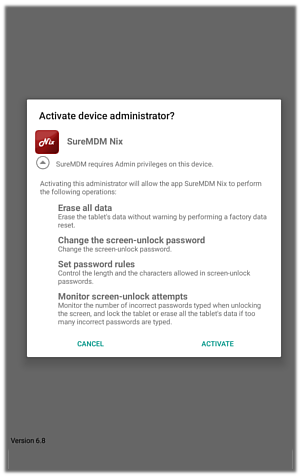
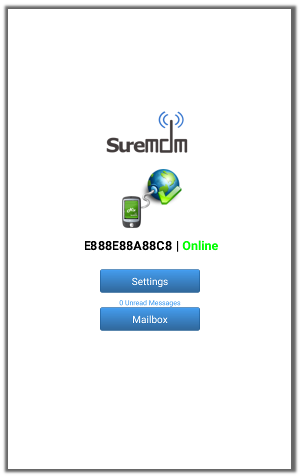
6. Next screen will be the SureMDM Nix Home Screen
Click here to register for 30 Days Free Trial
Click here to learn more about SureMDM