
Development
6 Different Types of Wearable Technology You Must Know Right Now
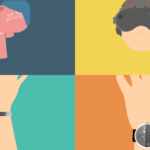
Wearable smart devices, more commonly known as wearables, have earned a steady following among consumers over the last ten years. Smartwatches like the Apple Watch are likely the best-known wearables, but many other kinds of wearables have emerged, and continue to emerge today. Examples of modern wearable technology available on the market range from head-mounted…
Read MoreHow to make mobile devices friendly for seniors

In recent years, smartphones and tablets have transformed the way people communicate. People are using mobile devices for activities such as ordering food, buying clothes, consulting doctors, performing banking transactions, and communicating with team members working remotely. However, senior citizens still find it difficult to use mobile devices. In this article, we will discuss the…
Read MoreObtaining Authentication Certificates Using SCEP

Extensive use of mobile devices in enterprises raise security concerns such as accessing work emails with unauthorized devices, password theft, accessing of corporate resources from untrusted devices etc. Although password-based authentication may secure corporate devices and networks, it has two key disadvantages: Users need to remember passwords for each resource they have access to, resulting…
Read MoreAndroid P: What’s New for Enterprises
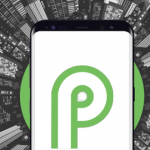
Google recently unveiled Android P, offering new APIs and frameworks, specifically designed for enterprises. They are designed to help EMM vendors and developers offer better solutions to secure corporate devices, provide better work profile management, improve kiosk mode flexibility (ability to run multiple apps) and more. Let’s explore in detail what an enterprise can do…
Read MoreEnrolling Apple Devices into SureMDM with Device Enrollment Program (DEP)
Apple’s Device Enrollment Program (DEP) has been designed to help enterprises quickly enroll, configure and deploy iOS and OS X (Mac OS) devices. Follow the steps below to enroll Apple devices into SureMDM using Apple DEP: 1. Login to https://deploy.apple.com 2. Go to Manage Server > Add a new MDM Server with name 42Gears SureMDM…
Read MoreManaging Enterprise Apps through Unified App Catalog
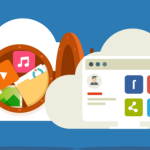
Enterprise reliance on applications is increasing everyday as almost every aspect of business is being supported and driven by applications. Streamlining business processes using CRM apps, establishing closed and efficient communication systems between employees and customers using email and chat apps, enhancing mobility and productivity using office apps, are few examples of using applications for…
Read MoreBlueBorne Attack: SureLock To The Rescue
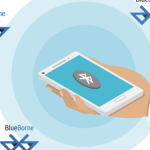
A new attack vector is threatening all major mobile, desktops and IoT systems – BlueBorne. It is an airborne threat that attacks devices via Bluetooth. BlueBorne allows attackers to take control of devices, access sensitive corporate data and networks, infiltrate “air-gapped” networks and spread malware. Hackers can use the BlueBorne method to penetrate and take…
Read MoreEvolution of Raspberry Pi as a Business Computer
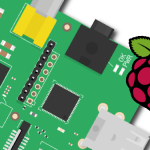
When Raspberry Pi first made an appearance in 2012, it created quite a stir in the computer world. The Linux OS based computer, with a low-price tag, offered support for various Linux distributions, making it a great option for business use. By 2014, almost 4 million units of Raspberry Pi systems had made their way…
Read MoreChromebooks to Run Android Apps – Competition for Android Business Tablets?
Google’s announcement that Chromebook has started running Android apps from 2017 raised the question of how it will fare compared to Android tablets, especially in a corporate ecosystem. While tablets are the ideal mobility tool for businesses, Chromebooks based on Chrome OS were introduced as cheaper replacements for laptops. This is where the later…
Read MoreImpressive Phones and Tablets from Samsung for Business Use
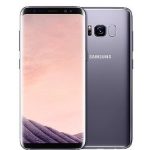
Samsung, one of the pioneers of digital age has contributed in making the world smaller in terms of accessing information and connecting people worldwide by specializing in tablets and mobile technology and hence setting highest standards as a digital leader in enterprise mobility. Here are some of the top Samsung tablets which are highly recommended…
Read More