How to get started with SureMDM On-Premise?
Oct 28, 2014 | 42Gears Team
| Applies to: | |
| Product | SureMDM On-Premise |
| Platform | Android/Windows |
For the minimum system requirements to set up a SureMDM On-Premise server contact our technical support – techsupport@42gears.com or use the live chat option.
Note:
1. SureMDM and database can be installed on the same server machine depending on the availability and requirements.
2. Database size will grow depending on amount of data stored as logs and job packages created in SureMDM.
Installation Steps:
1. Copy SureMDMWSqlExpress.msi and setup.exe to a folder on the server
2. Launch setup.exe to start the installation.
Note: This will download and install all pre-requisites for SureMDM followed by SureMDM Installation.
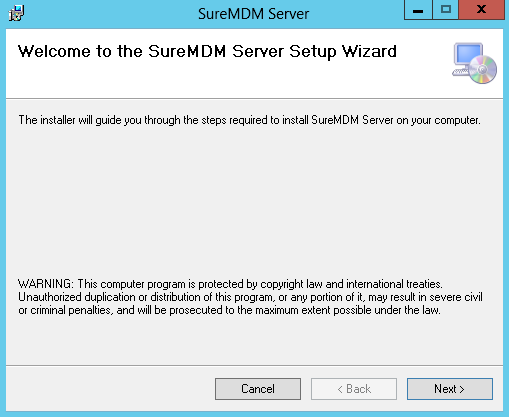
3. SureMDM Server Setup Wizard’s Welcome screen will appear
4. Press Next to proceed
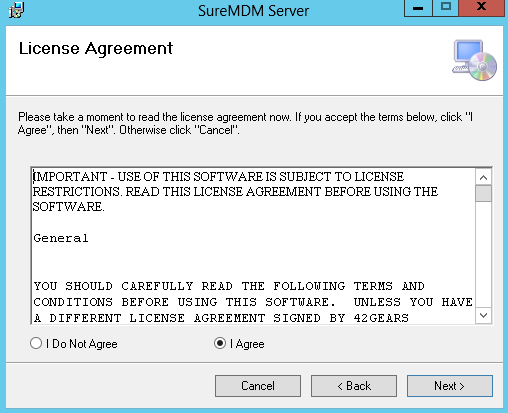
5. Next screen will have License Agreement. Go through the details and if you agree, select I Agree and click on Next
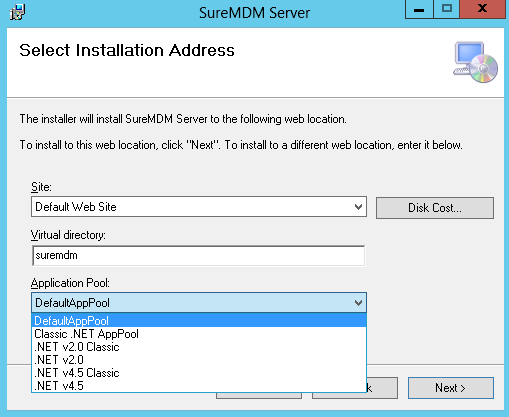
6. Choose ASP.NET v4.0 or DefaultAppPool from Application Pool drop down menu and click Next to continue.
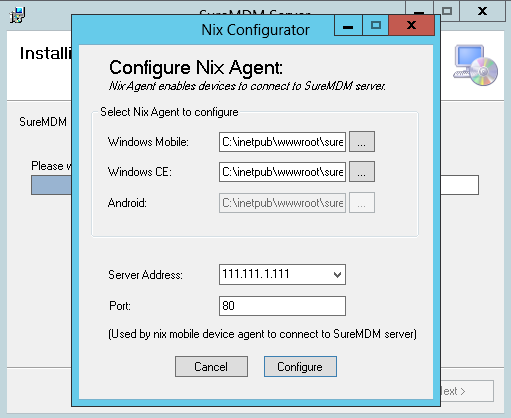
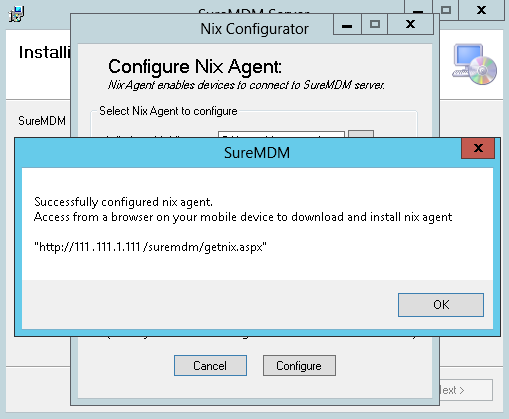
7. Next, Nix Configuration Utility will launch. Check the server path value. This must be the host name or the IP address of the server on which you are installing SureMDM. Once done. click on Configure to proceed.
8. Once configured, following message will show up. Note down the path mentioned and use this path later to download Nix Agent on your mobile device.
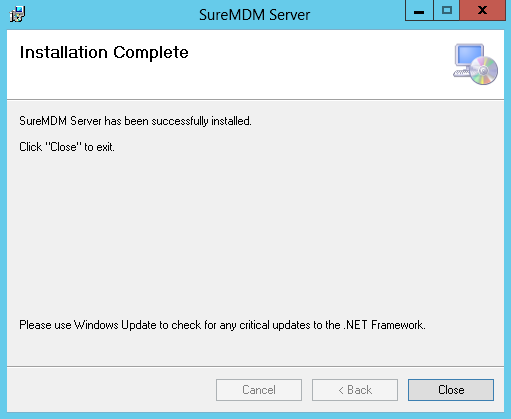
9. On Installation Complete screen, click Close to finish installation.
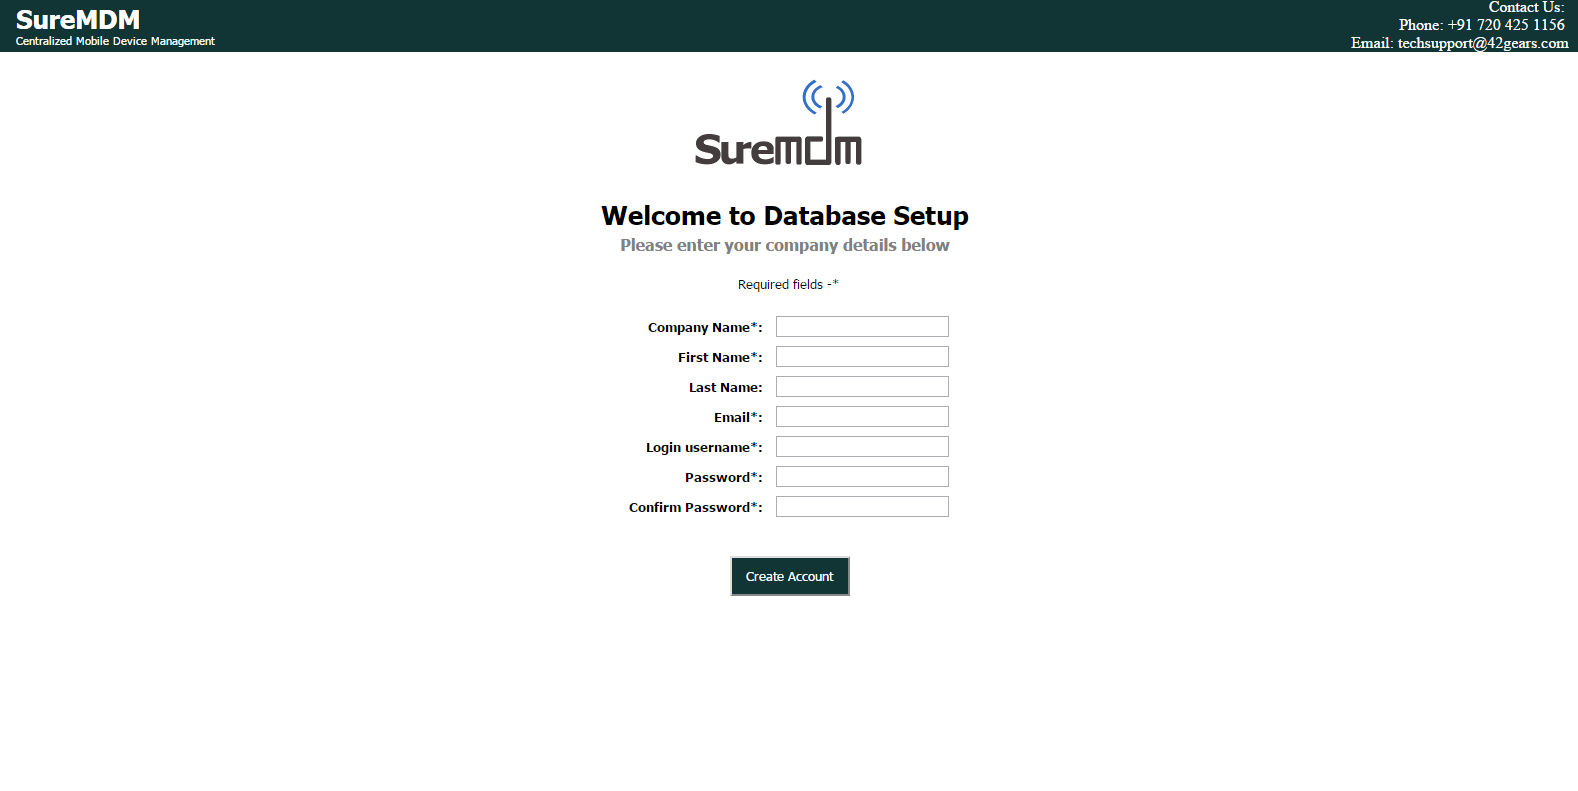
10. After the installation is over, access http://<servername>/suremdm/ to access setup page
11. On the Database Setup page, create an account by filling out following details and clicking on Create Account:
Company Name
Name
Email
Login Username
Login Password
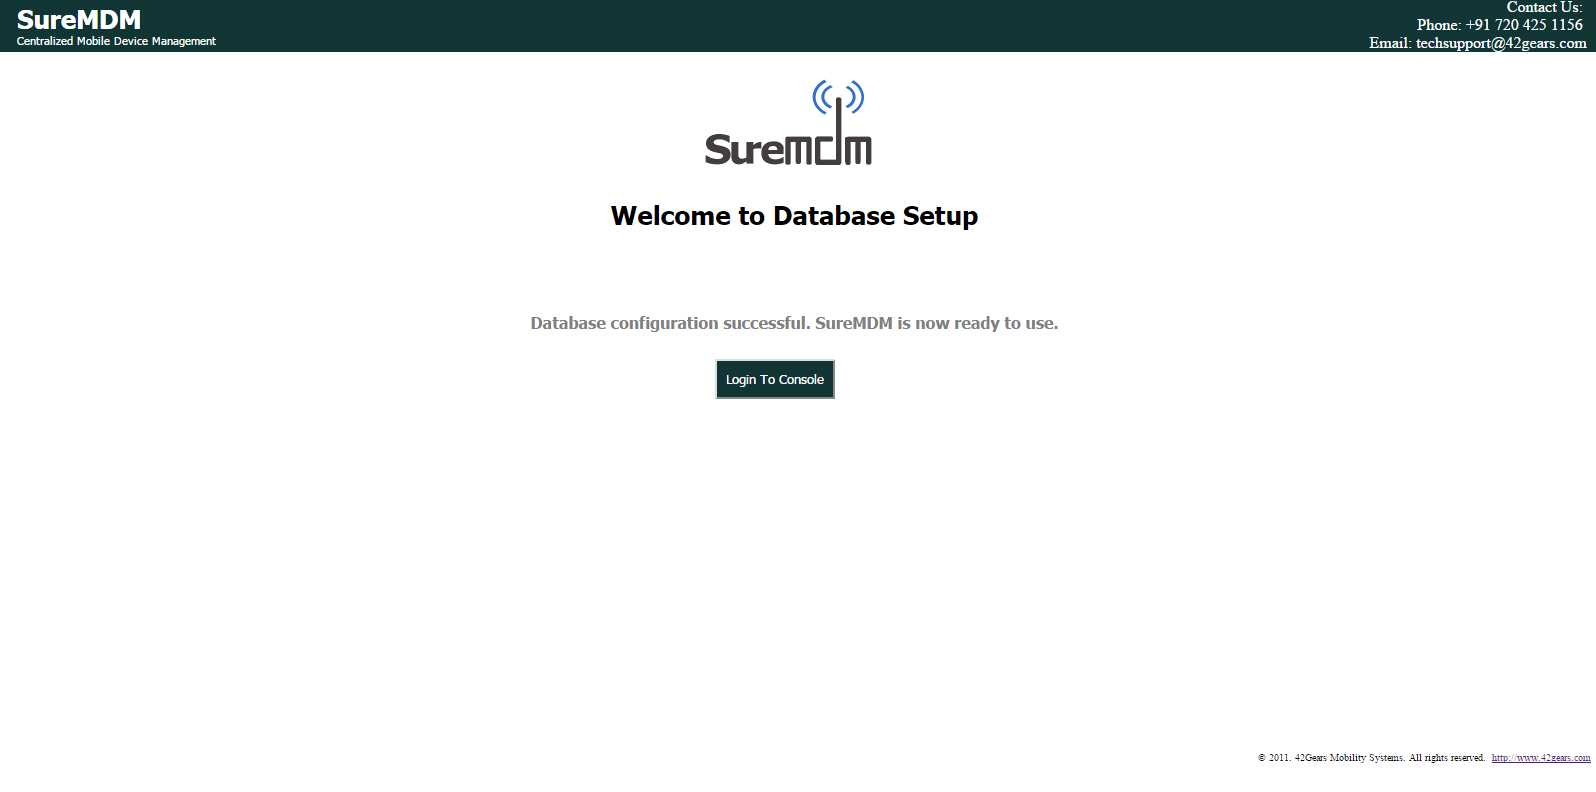
12. Once done, the next page will give you a confirmation that the account is created. Click on Login to Console to login
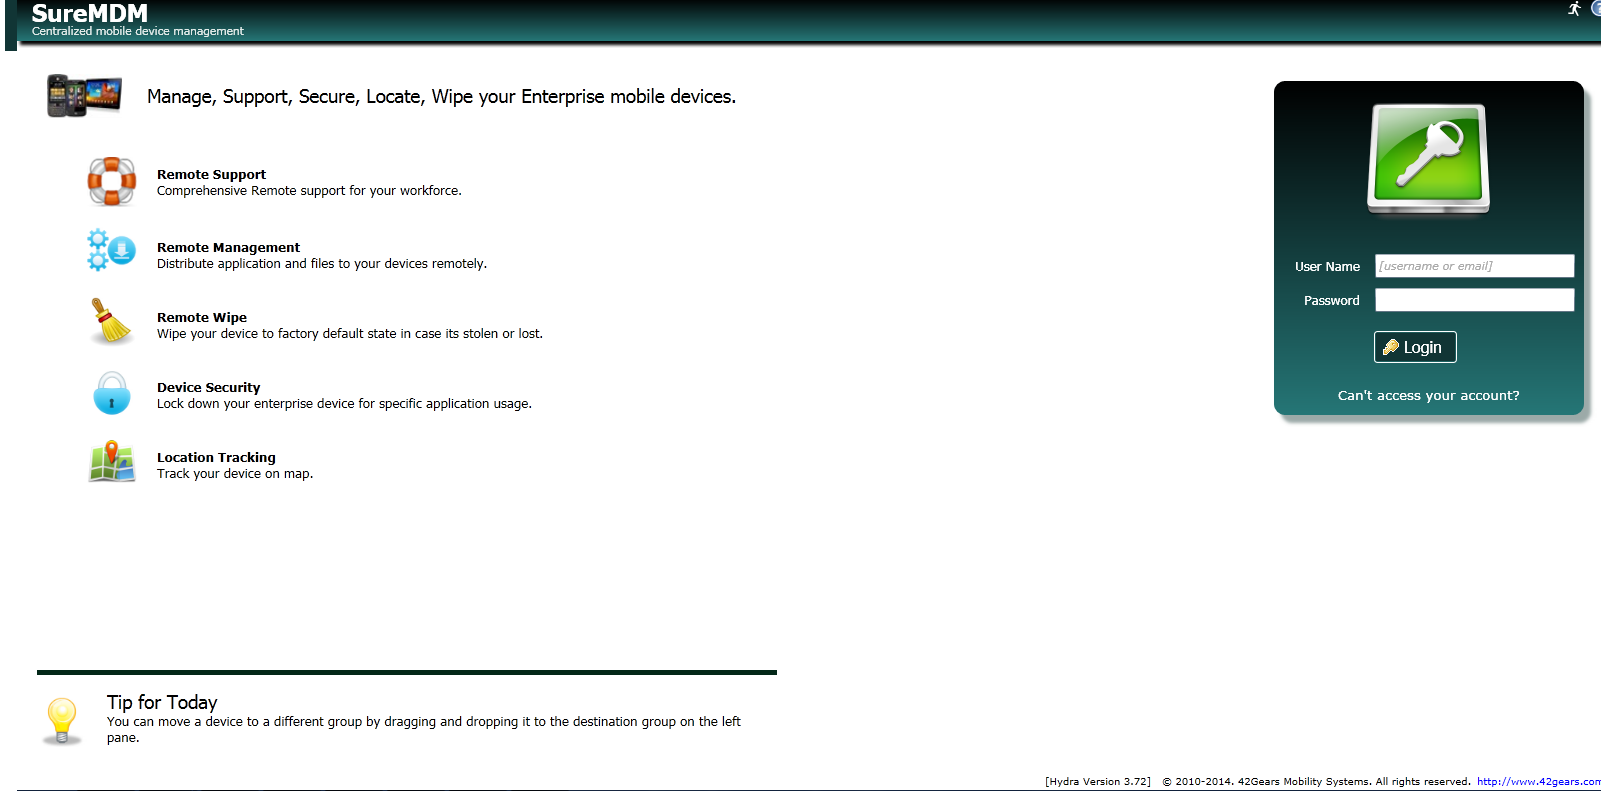
13. Use the User Name and Password created in Step 11 to log into the SureMDM Web Console
Enrolling a device
Once SureMDM Nix is installed on the device from the designated link (refer step no. 7 ) or Google Play Store, enroll a device with your SureMDM account by following below mentioned steps:
1. Launch SureMDM Nix on your device and tap on Get Started
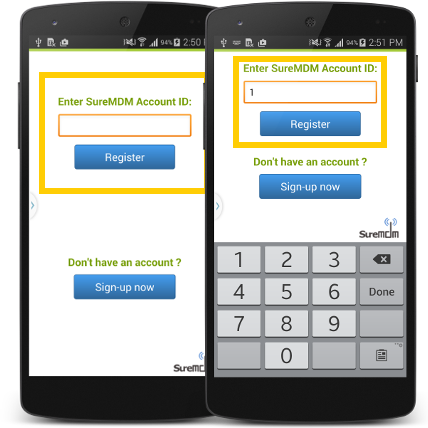
2. On the next screen, enter SureMDM Account ID as 1 and tap on Register
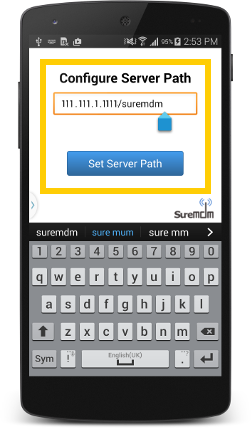
3. Enter the Server Path in Configure Server Path field and tap on Set Server Path
Note: Refer to SureMDM Installation step no. 7 for the Server Path details.
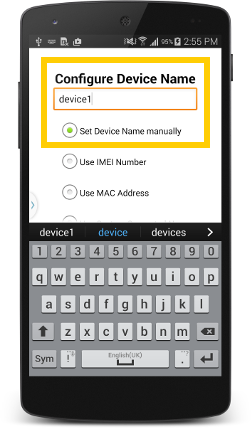
4. Next screen, configure a name for the device and tap on Set Device Name
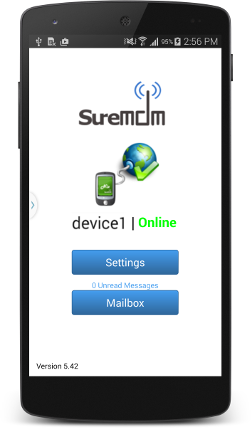
5. Now your device is ready to use.
For any further technical queries, write to us at techsupport@42gears.com
For more details on SureMDM, click here
Subscribe for our free newsletter


